Notion is a powerful but notoriously complicated and hard-to-get-started-with app. When I first started using it, I gave up after my first five or so minutes. But then a few days later, I came back to it, tried again, gave up, tried again, gave up, until eventually, it became the manager of my entire life.
I’ve been using it for years, and my hope for this article is that it can help you learn from my own mistakes so you don’t have to go through the trouble I did when starting your Notion journey.
So here’s how to not only set up your Notion, but to get real, true value out of it and start using it to manage your own life — all in ten minutes or less.
Sign Up (1 Minute)
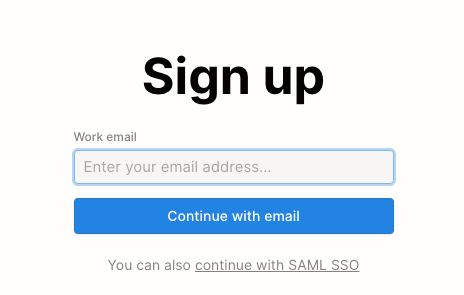
Go to notion.so, click ‘Get Notion free’, and create your account. You’ll be asked how you want to use Notion (for work, personal use, or education), which will affect the default pages shown to you, and then you’re in!
This step should really only take you a few seconds, but to keep the numbers nice and round, and give you some buffer time, I’m leaving it at a minute.
Learn the Features (2 Minutes)
Once you’ve loaded in to Notion for the very first time, take a moment to appreciate that you’ve taken the first step toward a life-changing journey (okay, maybe I’m being a bit overdramatic).
And then dive in.
You’ll first be greeted with a tutorial page, which walks you through the different features and keyboard shortcuts of Notion. It’s actually pretty helpful and covers a lot of the basics of Notion, so I recommend going through that — it takes around 2 minutes.
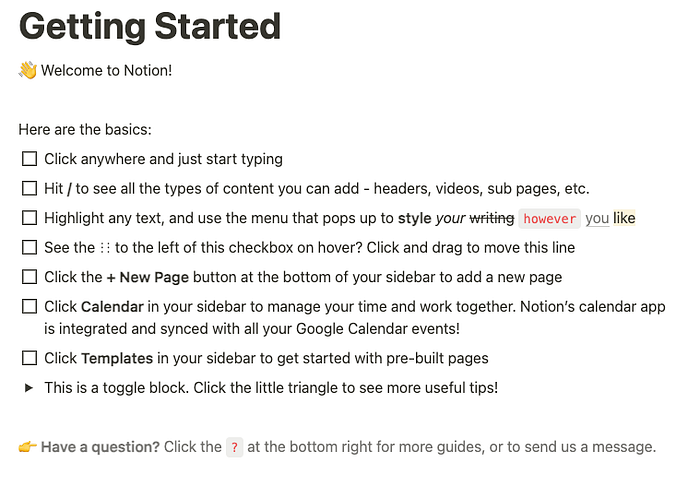
If you don’t want to read it, here’s the gist:
- Notion is built by these things called ‘blocks‘ — every text box, photo, callout, etc. is a block
- Notion also has what are called ‘databases‘ — collections of data and information you can view in different ways by switching between ‘views‘
- Together, databases and blocks build up ‘pages‘, which can be linked together and further organized, like putting documents in different folders
- The lifeblood of Notion is the ‘/’ key, which you type to create a block, database, page — anything
Create a Master Calendar (1 Minute)
Now that you’re all set up, it’s time to actually use Notion to start managing your life.
The three things that you can create in Notion that will instantly make you more organized is a calendar, to-do list, and goal page.
First, we’ll start by creating a master calendar — a calendar database with all your events, reminders, due dates, deadlines, etc.
Create a new page and create a database in it.
You can do this one of two ways:
- If you want the entire page to be only the database (it becomes impossible to add anything else, like photos or links), click the ‘… More’ and then ‘Calendar’

- (My preference) If you want the database to be smaller and inline, which means you can move it around and add other things to the page, click ‘Empty page’ and then type ‘/calendar view’

Once you have a calendar database, choose ‘New database’ as your data source and create a new item by clicking the ‘+’ button that appears when you hover over a date.
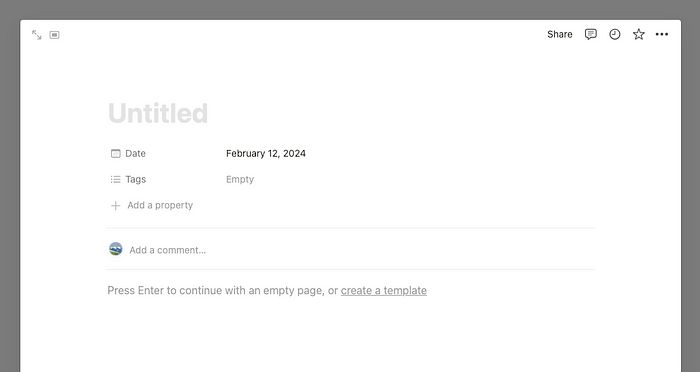
In this new item page, we’re going to edit the properties (click ‘Add a property’ to create a new property, and to create options for the properties, simply type something in and it will show ‘Create [your new property]’).
Here are some potential properties you can add depending on your needs:
- Select property called Type (fill in your own types: ex. birthday, reminder, meeting)
- Text property called Location
- Multi-select or Person property called People (ex. family, friends, co-worker)
- Select property called Priority (ex. optional, recommended, MUST ATTEND)
- Select or Multi-select property called Class (if you’re keeping track of school assignments)
Once you’re done, click out of the item. You don’t have to add in all of your dates and deadlines right now — that’s for after you get all set up.
Create a To-Do List (2 Minutes)
Now, create a new page. Again, create a database — this one as a table view — either inline or full-page.
Set the data source as ‘New database’.
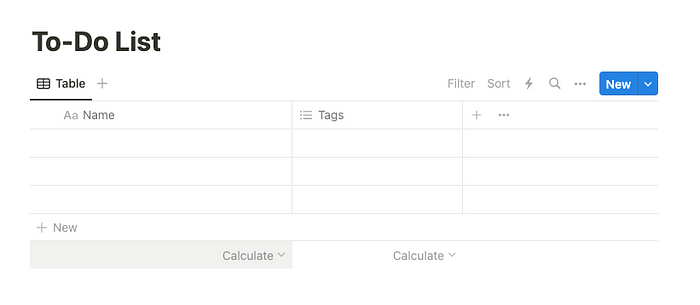
Once again, create some properties:
- Date property called Deadline (what date the task needs to be done by)
- Select or Multi-select property called Type (ex. household, work, friends, family, personal)
- Status or Select property called Priority
- Checkbox property called ‘Done?’
This is a pretty basic to-do list — but for some added functionality that will really get it going, add these:
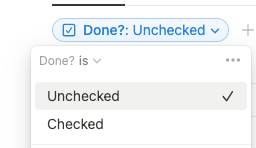
- Create a ‘Filter’ that sorts by the ‘Done?’ property for ‘Unchecked’.— This will make items disappear when their checkboxes have been clicked
- Drag the properties around and shrink or enlarge them to your liking

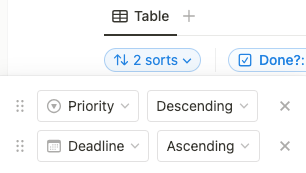
- Create a ‘Sort’ that sorts by the Deadline (ascending) and/or Priority type (whatever way makes High priority on top and Low priority on bottom) — Note: whichever sort is on type will take precedence, while the bottom sort will resolve ‘ties’ of the top sort
Now you have a to-do list template you can use to fill in and manage all your tasks.
Create a Goals Roadmap (3 Minutes)
It’s time for the page that’s really going to change your life: the goals roadmap page.
You know the drill — create a new page, title it, and create a new database. Now, for this page, you can choose between a couple of different views, but I’m going to go with the ‘Gallery’ view for an extra aesthetic touch.
Once you’re here, delete all the existing pages inside your gallery view and create a new one.
Now, set up the properties like this:
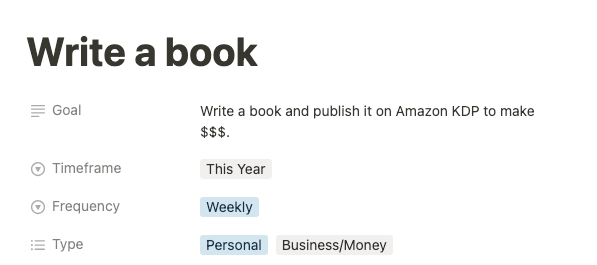
- Text property called Goal
- Select property called Timeframe (This month, this year, next 5 years, next 10 years, next 20 years, lifetime)
- Select property called Frequency, or how often you work toward this goal (Daily, weekly, monthly, yearly)
- Multi-select property called Type (ex. Personal, Business/Finance, Health)
This is the goal part of your Goal Roadmap page, but now it’s time for the roadmap part.
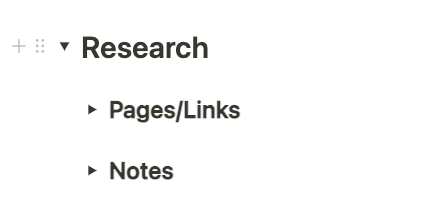
Create three toggle headings called ‘Research’, ‘Roadmap’, and ‘Routine’.
The research part is for any articles, videos, or notes you have on the goal — for example, a blog dedicated to how to write a book. It’s a collection of resources that will help you during your journey toward reaching your goal.
The roadmap part is a checklist with dates that breaks down all the different parts of the goal.
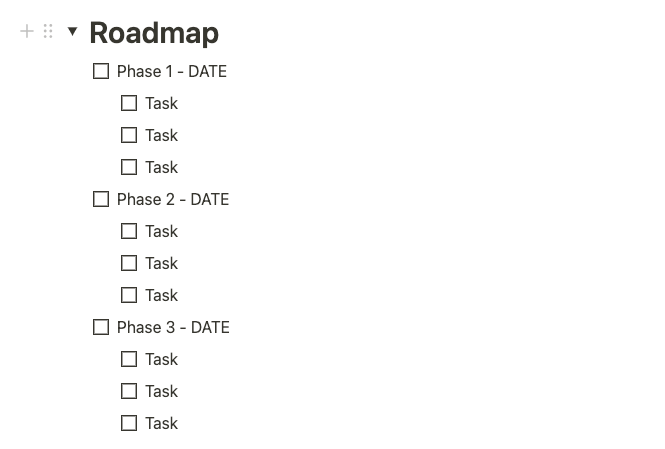
For example, for the “write and publish a book” goal, the three phases could be:
- Plan book
- Write book
- Publish and market book
…all with multiple smaller sub-tasks, like ‘come up with the idea‘ and ‘create the outline’.
Finally, the routine part is a simple actionable callout with the ‘when’ and the ‘what’.
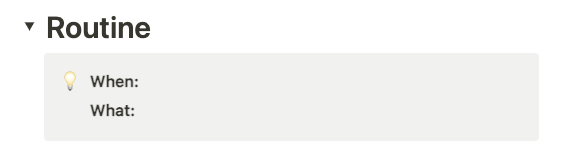
It’s arguably the most important part of this entire thing, because it’s what’s going to get you to actually reach your goals by working toward them.
Here, you will establish when exactly you will work toward your goal (ex. Every Tuesday and Thursday from 5am — 7am) and what you will do during this time (this will usually change as you progress through your roadmap).
Altogether, this system will allow you to define your goals, come up with actionable plans, and act on those plans through consistent habits.
Eventually, your goal page may look something like this:
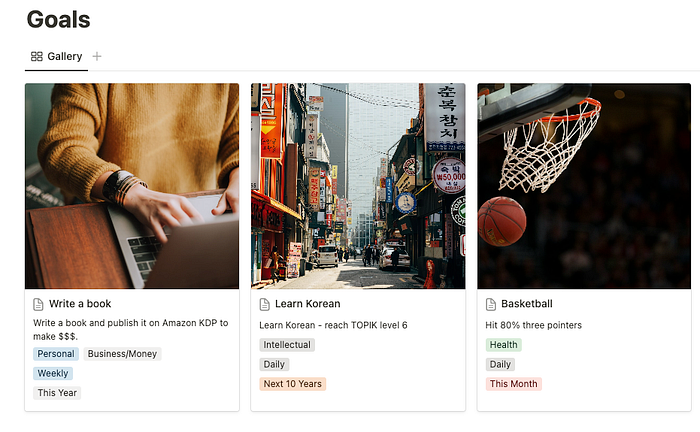
But for now, just set up the properties and page for you to fill out later.
Note: If you are using gallery view and want it to look like the above image, go to the ‘…’ next to the blue New button and click ‘Gallery >’. Here, change ‘Card preview’ to ‘Page cover’ — this means that the cover of each page is what will show up in the gallery view. If you go back out and then go to ‘Properties’, you can also customize which properties are shown and in which order.
Create a Dashboard (1 Minute)
Now that you have all of your main pages, it’s time to create a page that will link it all together.
Since there’s only three pages right now, it may not seem too important to have a main dashboard or home page — but once you start creating dozens of dozens of pages, it’s helpful to have one landing page with everything easily accessible.
You can create a new page, or you can go to ‘Templates’ in the bottom left corner, switch the category from ‘Work’ to ‘Personal’, and then click ‘Personal home’.
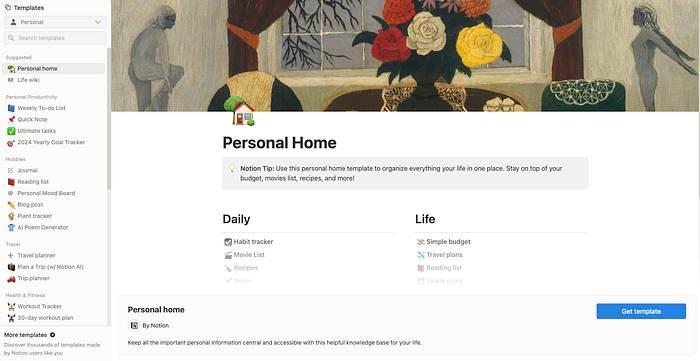
You can then use this template and add in your own pages by dragging them from the sidebar or by typing ‘/link to page’.
For further customization, you may want to explore some other homepage templates — there are a lot to choose from, with wide ranges of functionalities, aesthetics, and complexities.
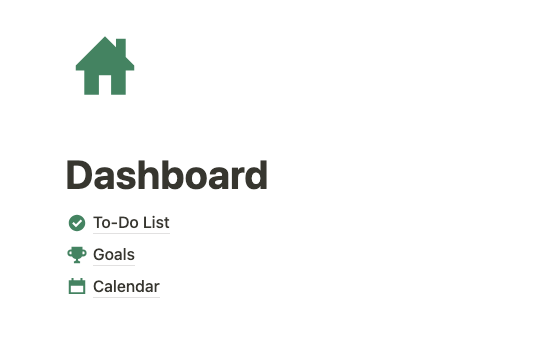
Here’s a basic (but functional) example
Next Steps
Congratulations — you’ve officially set up your Notion!
Along the way, you’ve learned how Notion works, how to use databases, and some different productivity and goal-setting methods.
But there’s still a lot to learn and a lot to do.
To give you some extra guidance, here’s a list of next steps:
- Fill out your calendar, to-do list, and goal pages. This will take time, but it will be worth it in the end.
- Learn even more about Notion by watching videos and reading articles about more complex features.
- Add more pages to your Notion. For every project you have, create a Notion page for it. You can also explore Notion templates, both created by Notion and created by other users.
- Overtime, Notion will become a hub for your whole life.